Every custom plastic profile starts as a bag of raw resin and ends as a precisely shaped component that fits seamlessly into a finished product. But between those two points lies a carefully controlled manufacturing process that determines everything from dimensional accuracy to long-term performance.
Understanding the custom plastic extrusion process helps engineers, product designers, and procurement teams make better decisions about materials, tolerances, and timelines. Here’s a step-by-step look at how it works.
What Is Plastic Extrusion?
Plastic extrusion is a high-volume manufacturing process that forces melted plastic through a shaped opening (called a die) to create continuous profiles with a consistent cross-section. Think of it like squeezing toothpaste from a tube — except the “tube” is a precision-engineered die, and the “toothpaste” is molten polymer heated to several hundred degrees.
The process is ideal for producing long, continuous lengths of material with complex cross-sectional shapes. Window seals, cable channels, edge trims, tubing, and decorative mouldings are all common extrusion products. If a product has a uniform cross-section along its length, extrusion is almost certainly how it’s made.
For a broader overview of how extrusion compares to other plastic manufacturing methods, see our Plastic Profile Extrusion 101 guide.
Step-by-Step: The Custom Plastic Extrusion Process
Step 1: Material Selection
Choosing the right resin is the most consequential decision in any extrusion project. The material determines the profile’s strength, flexibility, chemical resistance, UV stability, colour, and cost. Common materials include:
- PVC (Polyvinyl Chloride): The most widely extruded plastic. Rigid PVC is used for window profiles, siding, and electrical conduit. Flexible PVC works for hoses, seals, and edge protection.
- ABS (Acrylonitrile Butadiene Styrene): Impact-resistant and easy to finish. Popular in automotive trim, electronics housings, and consumer products.
- HDPE (High-Density Polyethylene): Chemical-resistant and durable. Common in piping, industrial profiles, and outdoor applications.
- Polycarbonate: High clarity and impact strength. Used for light covers, protective guards, and optical applications.
- TPE/TPU (Thermoplastic Elastomers): Rubber-like flexibility with the processability of plastic. Ideal for gaskets, grips, and co-extruded soft-touch components.
Material selection also involves deciding on additives — UV stabilizers for outdoor use, flame retardants for building products, or colourants for aesthetic requirements. Your extrusion partner should guide this decision based on the profile’s end-use environment and performance requirements.
Step 2: Die Design and Tooling
The die is the heart of the extrusion process. It’s a precision-machined steel tool with an opening that matches the desired profile shape. Designing a die requires deep expertise because molten plastic doesn’t flow like water — it behaves differently depending on the material, temperature, and wall thickness of the profile.
Die design accounts for:
- Die swell: Plastic expands slightly as it exits the die, so the opening must be calculated to compensate
- Flow balancing: Thicker sections of the profile receive more material flow, while thin walls need careful control to prevent defects
- Cooling shrinkage: Different materials shrink at different rates as they cool, affecting final dimensions
Custom die tooling typically takes 2-4 weeks to design and manufacture. The cost depends on profile complexity, but it’s a one-time investment that’s amortized across the production run. For tips on providing the right specifications upfront, our custom extrusion quote checklist covers what your extruder needs from you.
Step 3: Melting and Extrusion
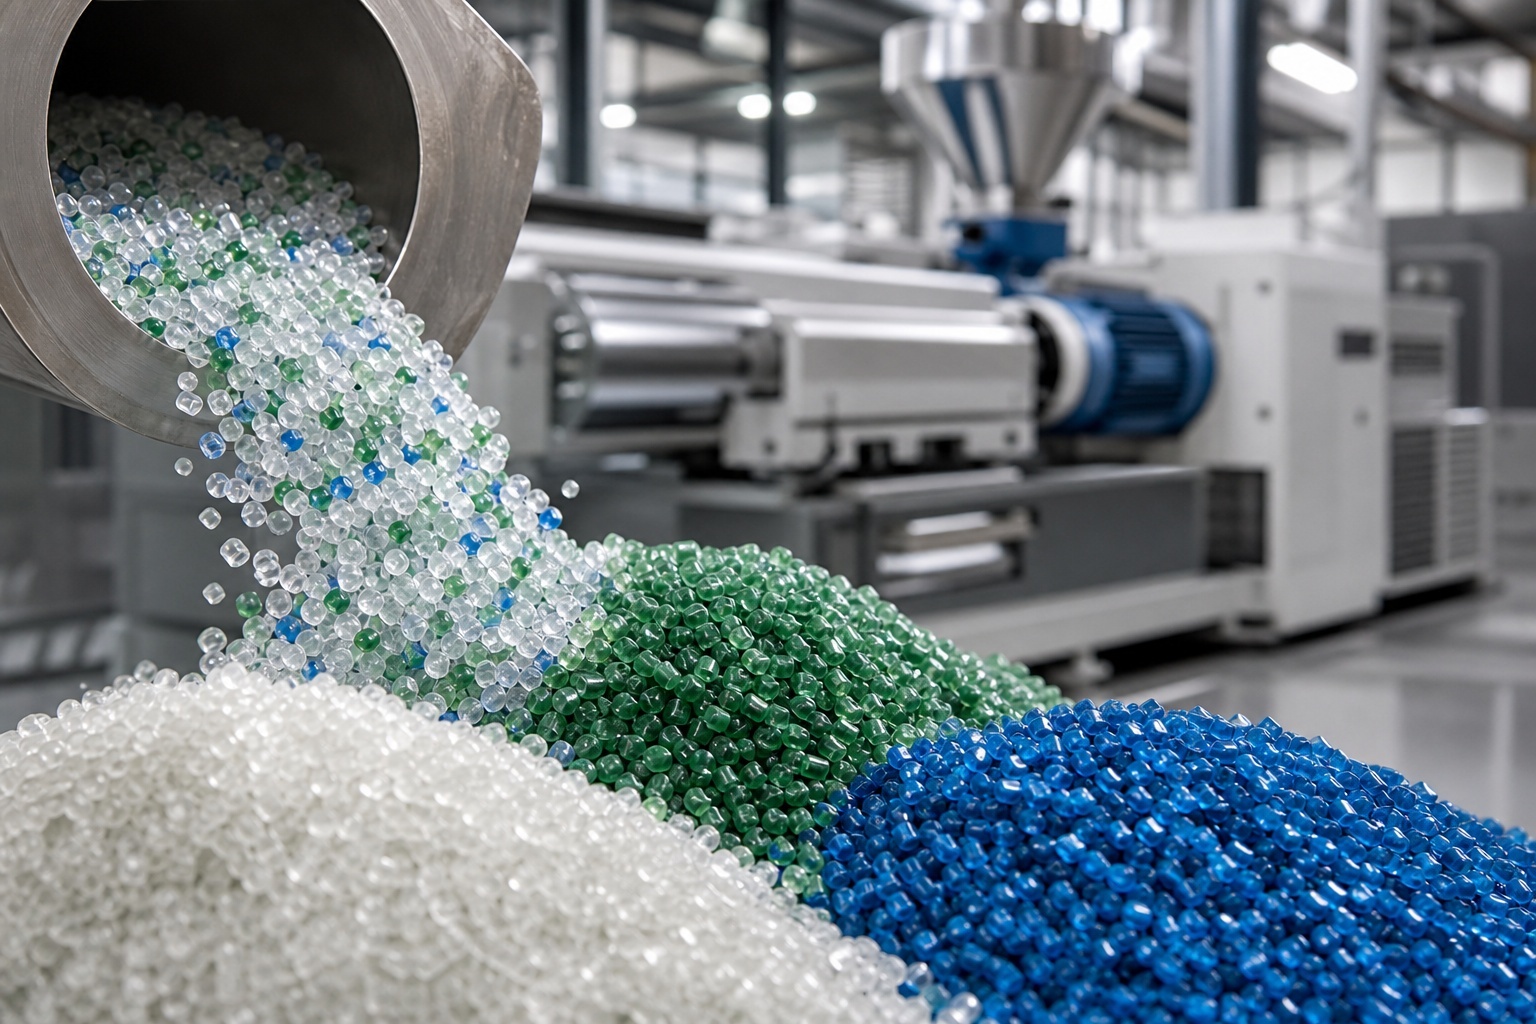
Raw resin pellets are fed into a hopper at the back of the extruder, which is essentially a long heated barrel with a rotating screw inside. The screw serves three functions simultaneously:
- Feeding: Pulling resin pellets from the hopper into the barrel
- Melting: Generating heat through friction and external heaters to melt the resin
- Pressurizing: Pushing the molten plastic forward at consistent pressure toward the die
Temperature control is critical throughout this stage. Each zone of the barrel is set to a specific temperature — typically ranging from 150°C to 275°C depending on the material. Too hot, and the plastic degrades. Too cool, and it won’t flow properly through the die.
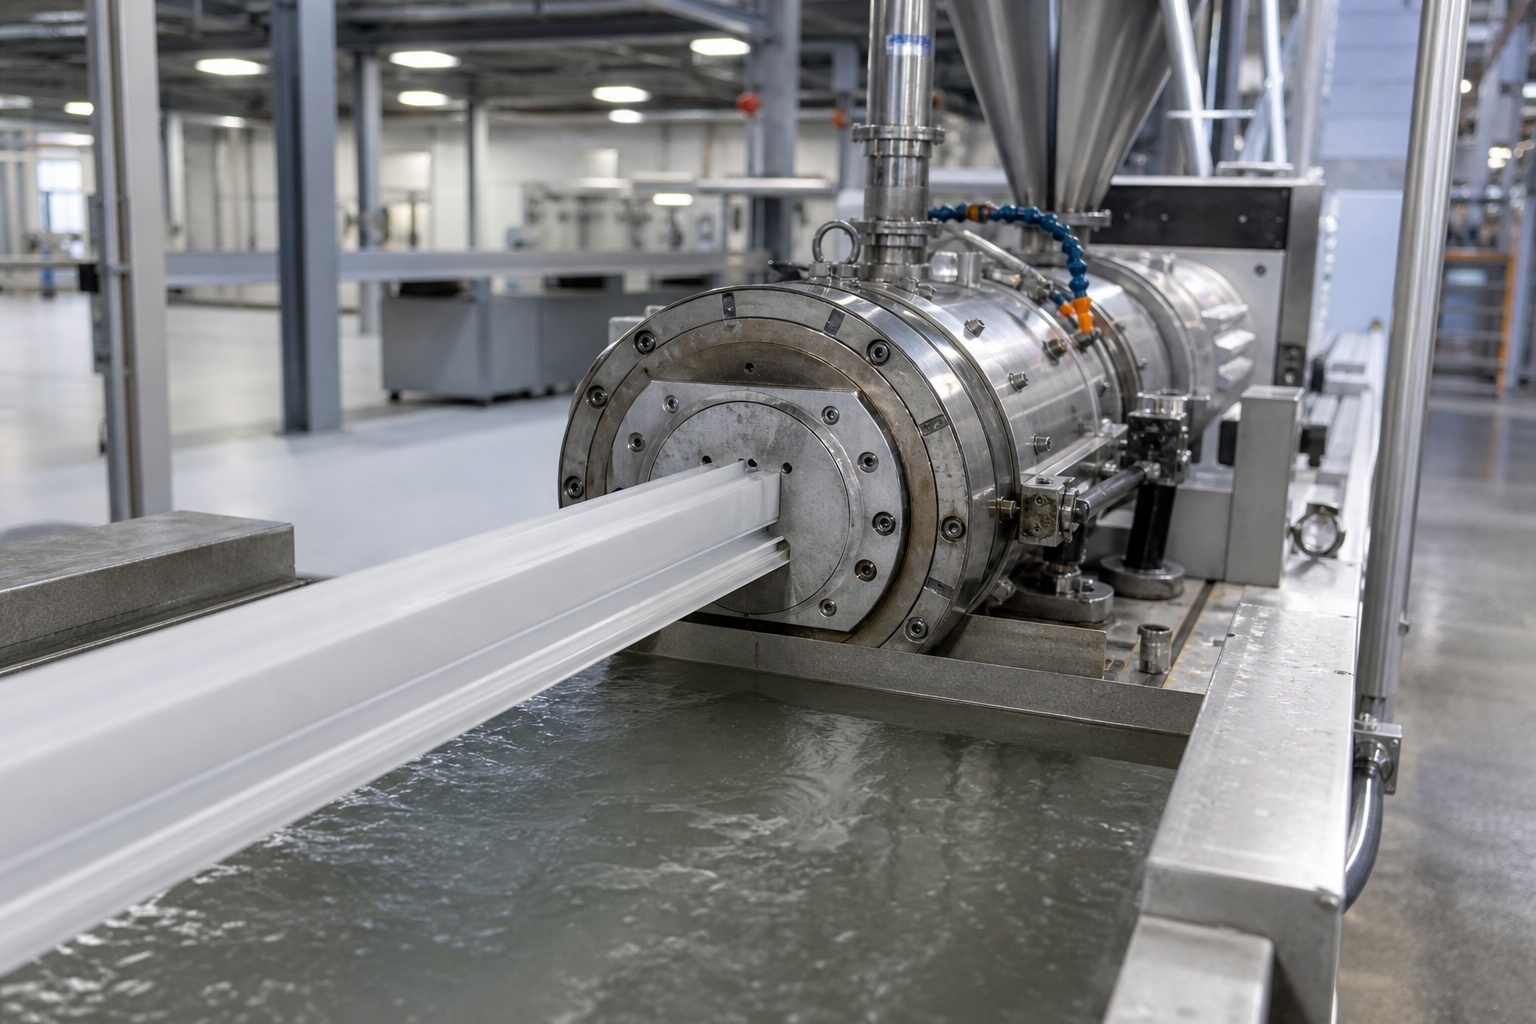
The molten plastic exits the die as a continuous, soft profile in the desired shape. At this point, it’s still hot and malleable — the next steps lock in its final dimensions.
Step 4: Cooling and Calibration
Immediately after leaving the die, the soft profile enters a calibration unit — a water-cooled tool that holds the profile in its exact shape while it solidifies. Vacuum calibration is the most common method: the profile is pulled into a precisely shaped sleeve while vacuum pressure holds it against the calibration walls and water jets cool it rapidly.
After calibration, the profile passes through a cooling tank — a long water bath that brings the material down to handling temperature. The length of the cooling tank depends on the profile’s wall thickness and the line speed. Thicker profiles need more cooling time.
Step 5: Cutting and Finishing
A puller mechanism draws the cooled profile from the line at a controlled, constant speed. Speed consistency is essential — even minor variations cause dimensional changes along the profile’s length.
At the end of the line, an automated saw or guillotine cuts the profile to specified lengths. Depending on the product requirements, additional finishing steps may include:
- Punching or drilling: Adding holes, slots, or notches
- Printing or labelling: Applying part numbers, branding, or compliance markings
- Bending or forming: Shaping profiles into curves or angles while still warm
- Assembly: Combining multiple extrusions or adding hardware
Types of Extruded Profiles
Solid Profiles
Solid cross-sections are the simplest to produce. Examples include flat strips, angle trim, edge banding, and decorative mouldings. Solid profiles are straightforward to tool and run at higher speeds than hollow designs.
Hollow Profiles
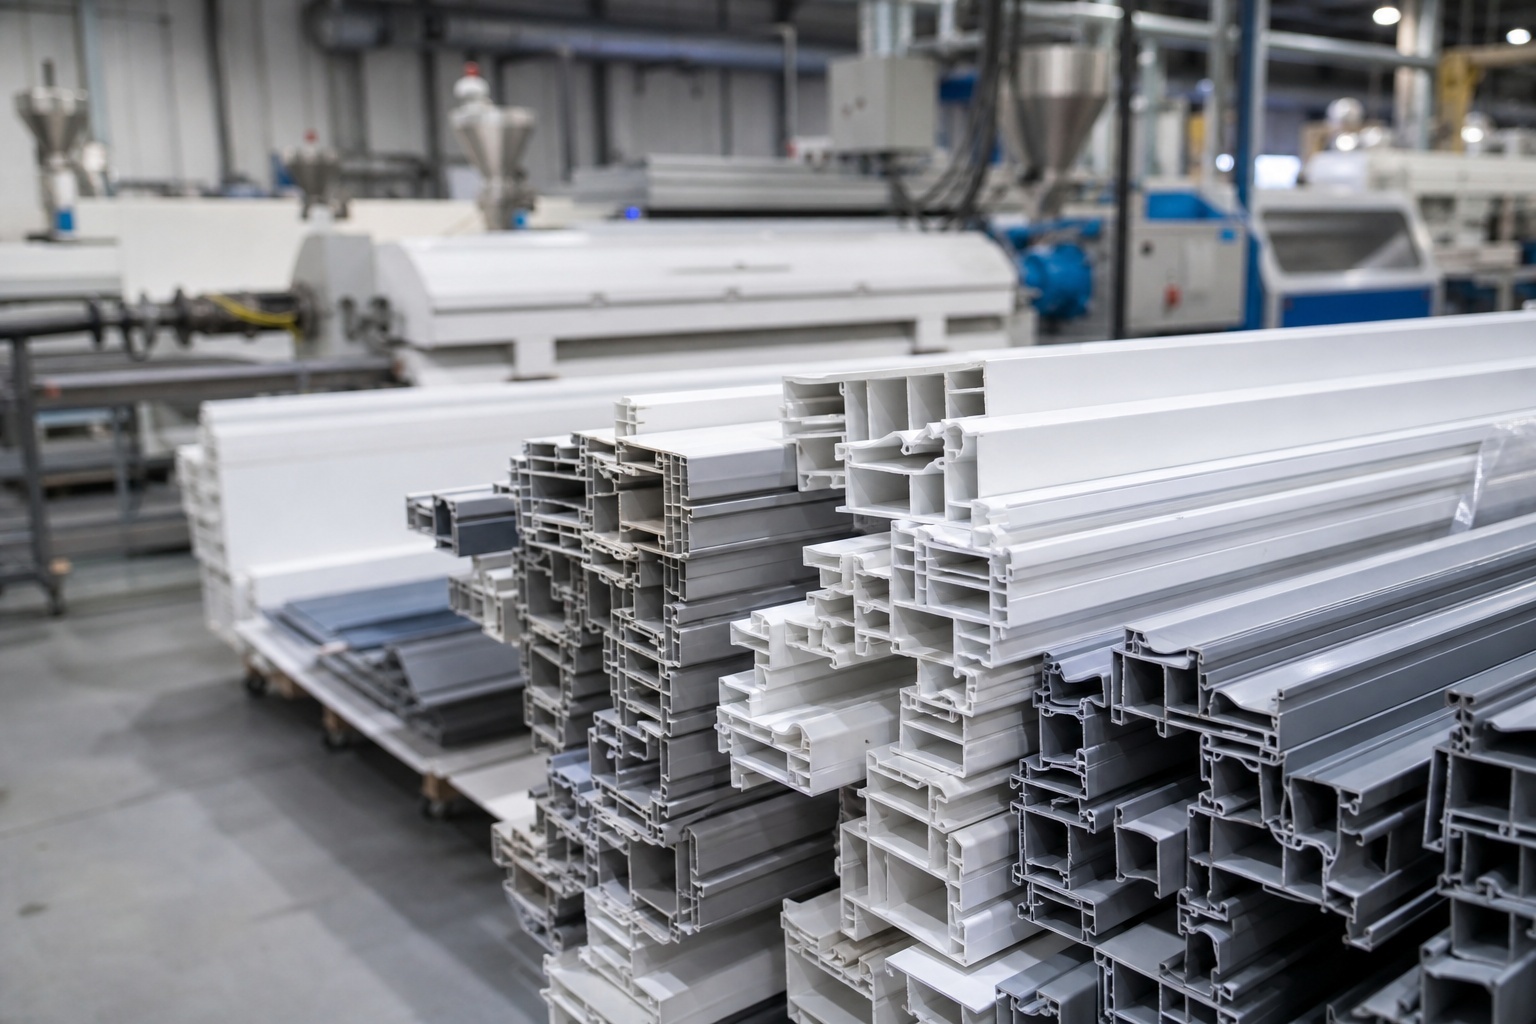
Profiles with internal cavities — like tubes, channels, and multi-chamber window profiles — require more complex dies with internal mandrels. The mandrel creates the hollow space while the outer die forms the external shape. Hollow profiles are lighter, use less material, and can provide structural rigidity through box-section geometry.
Co-Extruded Profiles
Co-extrusion runs two or more materials through the die simultaneously, bonding them into a single profile. This allows engineers to combine properties — for example, a rigid PVC structural core with a flexible TPE sealing lip, or a standard-colour body with a UV-resistant cap layer. Co-extrusion eliminates assembly steps and creates stronger bonds than adhesive attachment.
Quality Control and Tolerances
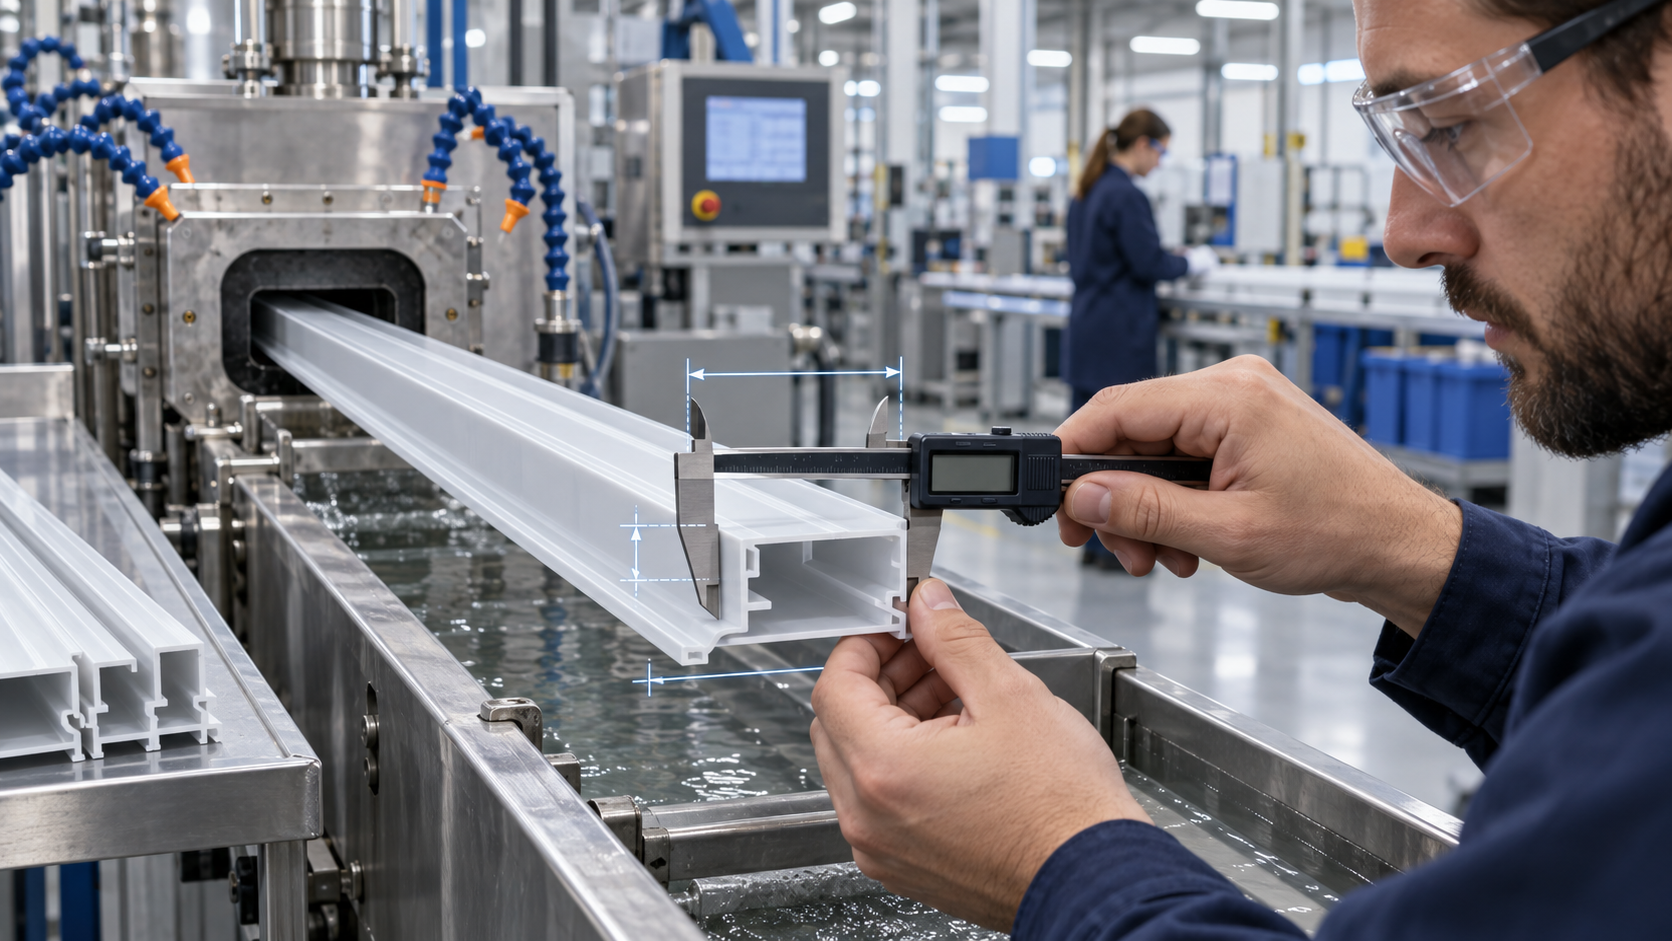
Dimensional accuracy is what separates good extrusion from great extrusion. Industry-standard tolerances for plastic profiles typically range from ±0.1mm to ±0.3mm depending on the feature, material, and wall thickness.
Quality control during production includes:
- In-line measurement: Laser or vision systems continuously monitor key dimensions as the profile runs
- Statistical process control (SPC): Regular sampling and measurement against specification limits
- First article inspection: Detailed dimensional report on the first production pieces before full-run approval
- Material testing: Tensile strength, impact resistance, and colour consistency checks per batch
For a deeper dive into what’s achievable, our guide on tolerances in extruded profiles breaks down realistic expectations by material type and feature size.
Design-to-Production Timeline
Knowing what to expect timeline-wise helps you plan product launches and procurement cycles:
| Phase | Typical Duration | What Happens |
|---|---|---|
| Design review | 1–2 weeks | Engineer reviews your drawing, suggests material and design optimizations |
| Die manufacturing | 2–4 weeks | Custom die is CNC machined, polished, and flow-tested |
| Trial run | 1–2 days | First extrusion run, dimensional verification, customer sample approval |
| Production | 1–3 weeks | Full production run, quality checks, packaging |
| Total | 5–9 weeks | From approved drawing to delivered product |
Rush timelines are sometimes possible, but they come with trade-offs. Planning ahead — especially for the die manufacturing phase — gives your extrusion partner the time to optimize tooling and avoid costly revisions. For tips on avoiding common delays, see our guide on lead time killers in plastic extrusion.
Frequently Asked Questions
What is the minimum order quantity for custom plastic extrusion?
Minimum order quantities vary by extruder, but most Canadian manufacturers require 500-1,000 linear feet per run to be cost-effective. Shorter runs are possible but carry a higher per-unit cost due to setup time and material waste during startup.
How much does custom extrusion tooling cost?
Die tooling for a simple solid profile starts around $2,000-$3,000 CAD. Complex hollow or co-extruded profiles with tight tolerances can cost $5,000-$12,000+. Tooling is a one-time cost — once the die is made, it’s used for all future production runs.
Can you match a specific colour?
Yes. Custom colour matching is standard in the industry. You can provide a Pantone reference, a physical sample, or a RAL number. Most extruders can achieve a close match within one to two iterations. Custom colours may require minimum order quantities for the colour compound.
What’s the difference between extrusion and injection moulding?
Extrusion produces continuous profiles with a uniform cross-section (like tubes, channels, and trim). Injection moulding creates individual three-dimensional parts (like caps, housings, and connectors). If your product has a consistent cross-section along its length, extrusion is typically more cost-effective.
Can existing profiles be modified for a custom application?
Sometimes. If an existing die produces a shape close to what you need, modifications to the die can be cheaper and faster than starting from scratch. Discuss this option with your extruder during the design review phase.
Ready to Start Your Custom Extrusion Project?
Whether you’re developing a new product or replacing an existing component with a custom-extruded profile, the process starts with a conversation about your application, material requirements, and target specifications.
Contact Accord Plastics to discuss your custom extrusion project. With decades of experience in custom plastic profiles across industries from automotive to construction, our engineering team will help you move from concept to production efficiently.